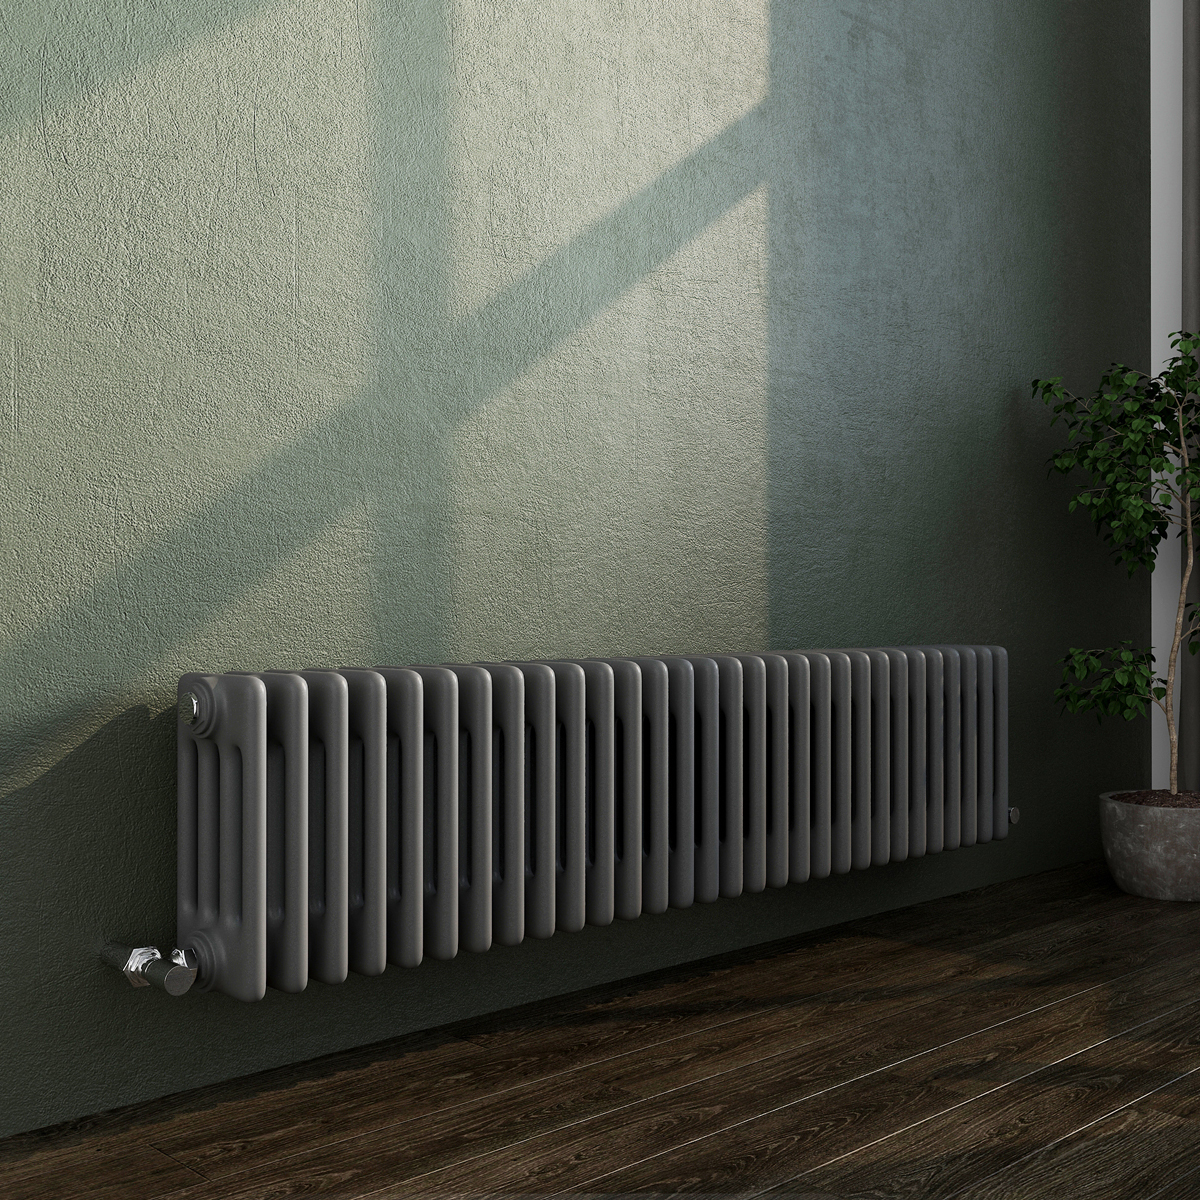
Have you ever woken up on a cold winter morning, only to find that your home has turned into a tundra? We sincerely hope you haven’t, but if you have, then you know that this frosty welcome is a sign that your radiator is leaking. If your radiator is pretty old, we would recommend buying a new radiator online. But if it’s a recent purchase, there might be some salvaging you can do to ensure energy efficiency and cost-efficient heating throughout the house. This brings us to the important question: how to fix a radiator valve?
Remember, if your radiator is leaking, then no matter how much you crank up the thermostat, the rooms in your home will be chilly, and you will have to call a professional to get it fixed sooner or later. In this blog, we will discuss how you can fit a radiator valve so that your radiator works more efficiently.
Understanding Radiator Valves
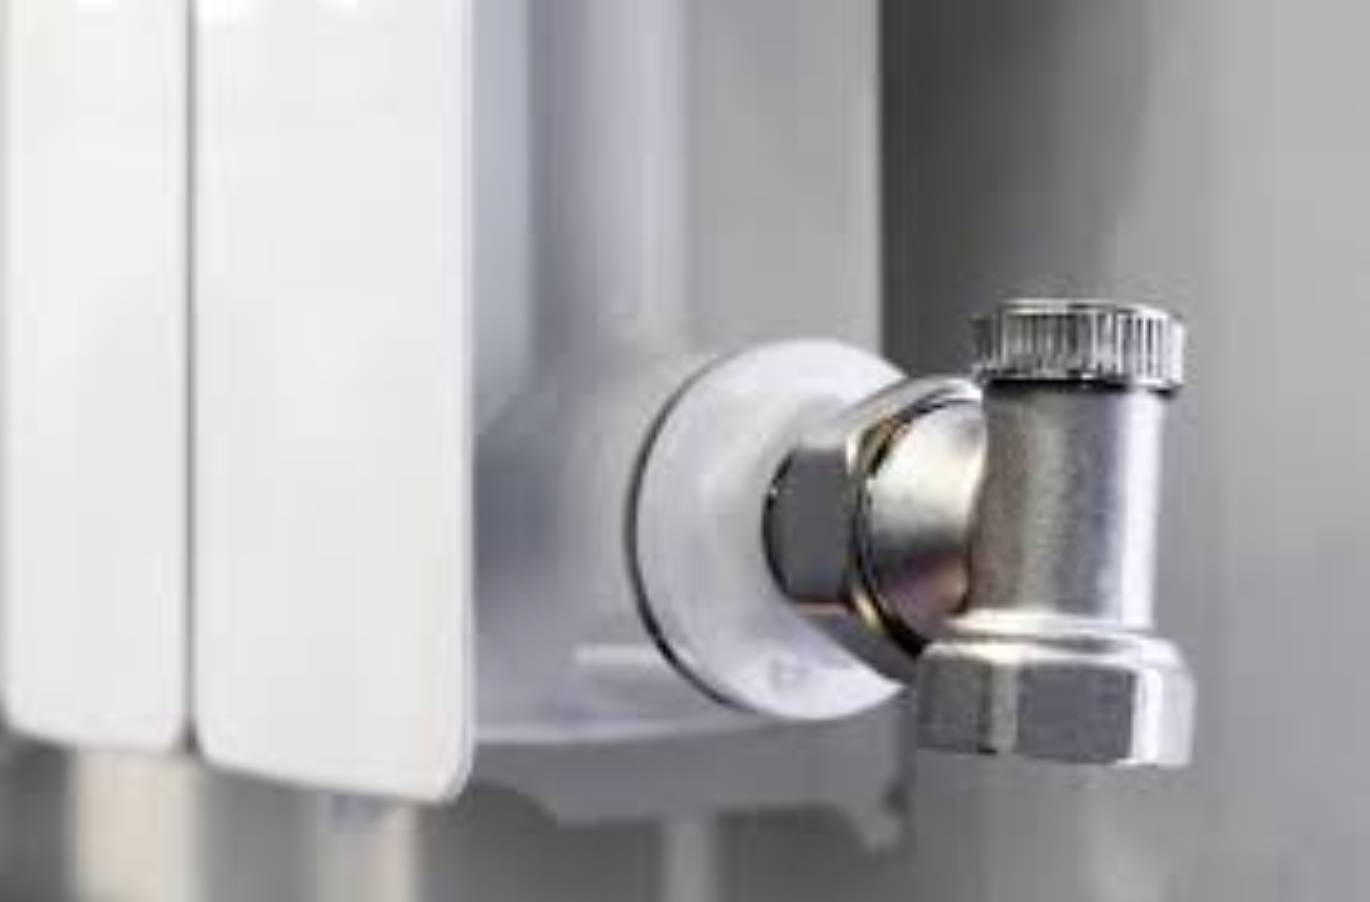
Before we can discuss how to fit a radiator valve, let’s first answer the question of what a radiator valve is. The radiator valve is essentially the gateway to your home’s heating system. The flow of hot water into the radiator allows it to generate steam, which is the source of warmth in your home.
In order to ensure that there is equal heat distribution in the home, you will have to ensure that this small device is fitted properly. You can increase or decrease the amount of hot water that enters the radiator using the valve. And this is also how the temperature of the room is controlled.
Types of Radiator Valves
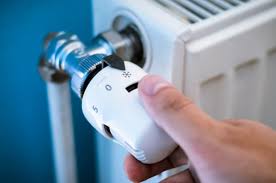
There are two different types of radiator valves. The first one is the Manual Radiator Valve, which allows you to manually regulate the flow of hot water. You can move the dial or knob to increase or decrease the temperature. Remember that one episode of Friends, where the Christmas party turns into a sauna? That is because the radiator’s knob breaks, and Monica is unable to adjust the temperature in the apartment. Yep, that’s the one.
The second type of radiator valve is the Thermostatic Radiator Valve (TRVs), which adjusts the flow of hot water automatically based on the temperature of the room. This is due to a sensor that allows it to detect ambient temperature. This type of valve ensures that your apartment has a consistent level of warmth and that you are not consuming too much energy to keep the indoor temperature warm.
Common Radiator Problems
Radiator valves are often at the core of radiator and heating system-related problems. If you’re asking ‘how do you fix a radiator valve?’, you are probably facing one of these common radiator problems.
Leaks
One of the most common reasons why people ask how to fix a radiator valve is because they are facing water damage and inefficient heating due to damaged valves, loose connections, or leaks.
Corrosion
Another common issue that occurs and may result in you changing the radiator valve is due to corrosion that occurs due to water and oxygen exposure. This will affect the integrity of the valve and exacerbate existing problems with the heating system. This issue is common in regions where there is hard water because the water can easily lead to rust and erosion.
Jamming
The radiator valve can run into problems such as sticking and jamming. You might need to fix your radiator valve because of the improper flow of hot water that leads to the accumulation of minerals and debris. Over time, this is going to affect the performance of your radiator and overall heating of the building.
Heating
You might have to change your radiator valve or fix it if you have air trapped in the system. This can also be the cause of inconsistent heating across the room. In some cases, the radiator can overheat instead of heating inefficiently.
How to Replace Radiator Valve
Now that you’re familiar with the types of radiator valves and common problems associated with them, let’s dive into the process of changing a radiator valve. The first step is preparing for the replacement.
Gathering the Necessary Tools
In order to replace your radiator valve, you need to prepare for the replacement procedure. This means gathering all the necessary tools and materials, as well as taking care to protect your surrounding furniture and flooring in the area.
If you are planning on fixing or replacing your radiator valve, you might need the following tools and materials:
Adjustable wrench or spanner
You can use this to loosen the nuts and bolts.
Pipe wrench
This is used to grip and turn the pipes, allowing you to loosen or fit the radiator valve.
Towels or bed sheets
If you’re replacing the radiator valve, you can use towels or sheets to soak up any spills and protect your floor and walls from water damage.
Bucket or tray
You can also keep a bucket or bowl nearby to help you collect water when you are draining the radiator valve.
Radiator key
If you plan on replacing the radiator valve without draining, then you will need a radiator key to bleed the radiator.
Replacement radiator valve
If you are replacing the radiator valve, you will need a replacement. And this has to be the correct type, size, and fit for your radiator.
Pipe sealant or PTFE tape
It is good to have pipe sealant and tape because this will allow you to seal the connection and prevent leaks in the future.
Safety gloves and goggles
When working with hot water and heavy appliances, it is best to protect your hands and your eyes with gloves and goggles.
Preparing the Work Area
You will also need to prepare the area near the radiator so that you can work comfortably and avoid any accidents. The towels and sheets you gathered earlier can be used to protect the flooring and surfaces. It is much easier to handle heavy appliances when the floors are not wet and there are no spills.
Turning off the Heating System
The next step in fixing a radiator valve is to turn off the heating system. This will allow the radiator to cool, and this way, you can replace the valve without any accidents.
Draining the Radiator
You might have to drain the radiator if you are replacing the radiator valve. Although this doesn’t apply to a radiator that has a drain valve at the bottom. In which case, you just need to attach a hose and direct the water into a bucket. This will allow you to replace the radiator valve after bleeding the radiator. You can also soak up any spills with a towel or a bed sheet in this case.
Loosening the Nut Connecting the Valve to the Radiator
This is the time to bring out your adjustable wrench and carefully loosen the nut that connects the valve to the radiator. You will be able to loosen it by turning counterclockwise. We recommend not applying too much force because you do run the risk of damaging the pipework. The nut can also be quite stubborn if there is corrosion. In that case, we recommend soaking it in oil before you loosen it.
Removing the Valve Body
Once you have loosened the nut, you can now remove the valve body by simply unscrewing it from the pipe. Try to be careful when you are doing this because the threads and surrounding pipework should not be damaged in the process.
Detaching the Thermostat Head
Now in some cases, you might have to take into consideration the thermostat head which is attached to the body. You can remove it simply by twisting it anticlockwise. If it seems trickier than that, we recommend consulting the manufacturer’s instructions to be more precise.
Inspecting the Valve Connection Point
The next step in our how-to-fix-a-radiator-valve guide is recognizing the valve body and inspecting the connection point. Do you see any damage or corrosion? This is where you will most likely need to clean and attach a new valve. You can do this by using a brush or sandpaper to cut through the rust and debris.
Disposing of the Old Valve
There is a good chance that the old valve cannot be salvaged, and you are better off replacing it. But if you think that the valve is in good condition, you can repurpose it. We recommend using efficient plumbing materials so that you prevent accidents and damage to your home in the long run.
Installing the New Valve
You will now be able to install the new valve with the help of the pipe sealant and PTFE tape you gathered before. This will allow you to seal the valve and prevent leaks in the future. This doesn’t mean over-tightening it because that can lead to a new set of problems altogether. We also recommend carefully threading the new valve body to the radiator’s inlet pipe and ensuring that it is secured. You can now attach the thermostatic head by following the manufacturer’s instructions.
Testing the New Valve
Simply attaching the new valve is not enough. If you want to efficiently replace the radiator valve, you will have to take the time to test it. This means checking for leaks and loose connections. You will most likely be able to see the leaks. If there are no leaks, you are good to go. But in case of leaks, you will need to reinstall it and apply additional sealant to secure it.
Adjusting the Valve Setting
This is an additional step that you might need to do if you are using a thermostatic radiator valve (TRV). This allows you to adjust the thermostat to your desired temperature.
Out with the Old, in with the New!
Now that you are done removing an old radiator valve, you can experience the warmth of an efficient heating system all over again. Unless of course, the problem was never the radiator’s valve, but with the radiator. In this case, you should consider replacing your radiator. Old radiators are not as efficient with heat distribution, and they can cause your property to deteriorate over time. In that case, it is better to look for a new radiator. If you are looking to buy a radiator online, then Chelsea Supplies might just be the right place for you.